ALTE DOCUMENTE
|
|
The next step is to create a site template that defines the layout and graphical aspect of your blog.
Note: A template is a fixed page layout. You can define regions in the template that are editable in documents based on that template. You use templates to control which page elements template users can edit. One of the most powerful uses of templates is the ability to update multiple pages at once.
To create the blog template:
Select File > New and select Template page > PHP template from the General tab as shown in Figure 2 below.
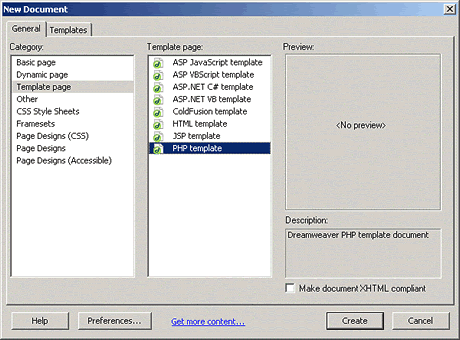
Figure 2. Creating a new PHP template page using the New Document dialog box
(+) View larger
Tip: The template of a dynamic site must be dynamic, as well. The template has a PHP extension after you save it. 252c210c
Think of the page layout for a moment. The blog pages should have the following general organization:
Figure 3 shows the general page layout.
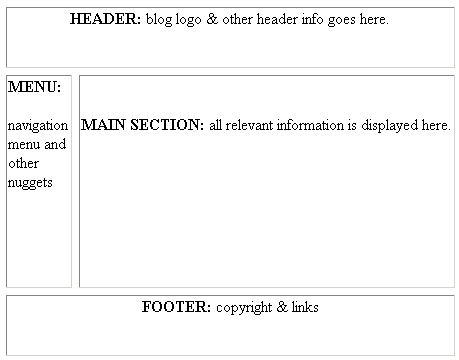
Figure 3. The basic layout of the template
Next, you will learn how to create this basic layout and add graphical formatting to it using Dreamweaver. You use this layout for all site pages. Dreamweaver templates can really bootstrap your editing efforts by automatically updating the layout of the entire site from just one file. In a Dreamweaver template, you can define which page regions users can edit subsequently and which page regions should remain unchanged throughout the site.
In your case, the header and footer sections and the left menu should be the same throughout the site. The only section that changes is the center of the page, which displays information that the visitor requested.
To define the layout of the site, you'll use an HTML table. You don't need to worry about the HTML code behind it. First, create a table with two columns and three rows:
Select Insert > Table.
Fill in the Table dialog box that appears, as shown in Figure 4.
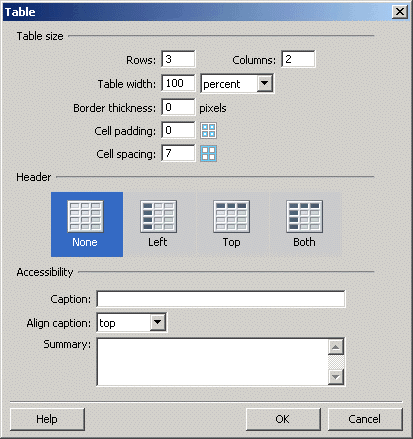
Figure 4. The Table dialog box
Click inside a cell and you notice how the tag selector and the Property inspector change accordingly. You will use these two tools to select and format various elements of the template. The tag selector shows the hierarchy of tags surrounding the current selection.
Note: If you are unable to see the Property inspector, select Window > Properties.
As you can see from the layout draft in Figure 3, the menu section is thinner than the main section and the header and footer sections span on a single row each. You need to format the table as follows:
Select
the first row by clicking inside it and then select the <tr> tag
in the tag selector as shown circled in red in Figure 5.
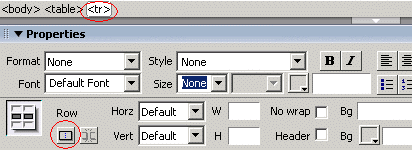
Figure 5. Selecting the first row using the tag selector
The table should now look like Figure 6.
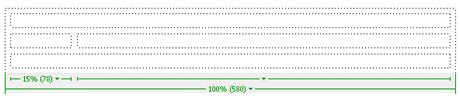
Figure 6. How the template should look so far.
Save the template file by selecting File > Save. A pop-up message warns you that you haven't defined any editable regions. Click OK to proceed.
Note: Pages based on a template that have no editable regions defined cannot be modified. You will define such regions later in this tutorial.
Dreamweaver creates a special folder called Templates inside the site root folder. All the template files are stored in this folder.
Tip: Dreamweaver gives all template filenames a special DWT extension. If the template name is blgtemplate, as in your case, the corresponding filename is blgtemplate.dwt.php.
Next, you edit the layout sections of your template: the header, the footer, and the menu.
First, decide on an image that you will use for the logo and store it in the img folder of your site. If you wish, you can use the logo.jpg image that is included in the sample files linked at the beginning of the article. To insert the logo in the header section of the template:
Pay attention to the URL: Remove the opening /, because the template in a different folder than the rest of the application files. The relative path "img/logo.jpg" ensures the image is correctly displayed in the pages based on this template.
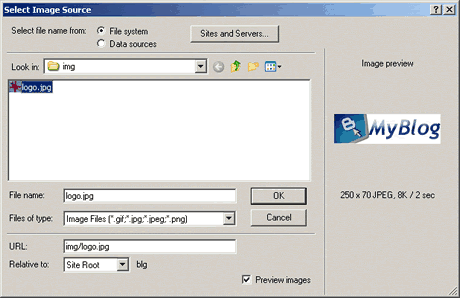
Figure 7. Inserting the logo image and adjusting its path
(+) View larger
Next, you edit the footer section of the blog. Enter the desired text and links in the table cell. Because the blog was created with Macromedia Dreamweaver MX 2004, I have decided to create a link to the Dreamweaver product page. Just select the text that you want to link and then enter the desired URL in the Link field in the Property inspector.
In the next section of this tutorial, you learn how to create a dynamic navigation menu that uses data from a recordset.
|
